Brown Butter Rice Krispie Treats
Brown Butter Rice Krispie Treats are the perfect twist on a favored classic. The simple addition of browning the butter elevates your treat by adding a rich flavor that is sure to be loved by all who try it!
Jump to Recipe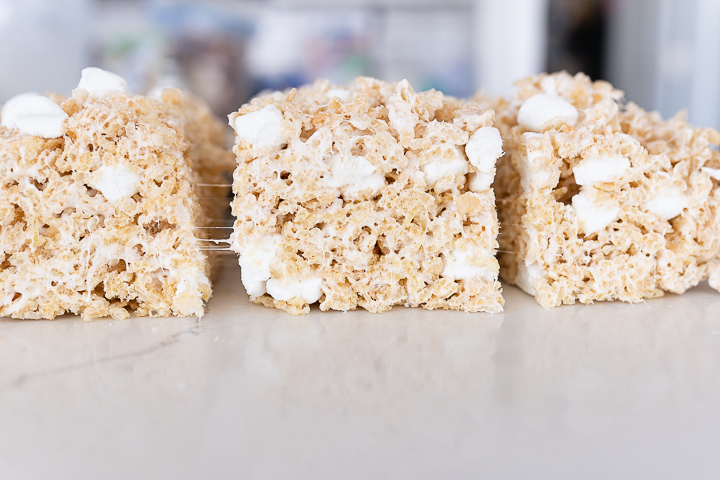
Brown Butter Rice Krispie Recipe
You would be hard pressed to find someone who has never had a rice krispy treat before. With a simple cast of ingredients and a quick assembly time, it’s no wonder they’re a beloved treat. But if you’re like me, sometimes the original can feel a little boring. Enter: Brown Butter Rice Krispie Treats.

This one is for all the adults who are still kids at heart and adding brown butter is the glow-up you didn’t know your rice krispy treats needed. By tweaking one step in this simple recipe (more info on how to brown butter here), you can take this easy dessert from ordinary to delightfully mature.
Ingredients
- Salted Butter
- Rice Krispies Cereal – You can do this with any cereal you’d like! I personally like Cinnamon Toast Crunch or Fruity Pebbles.
- Mini Marshmallows
How to Make Brown Butter Rice Krispie Treats
- Prep: start by pouring your desired amount of cereal into a large bowl and pulling out a separate microwave safe bowl and a 9×9 or 9×13 pan.
- Next, you will begin browning your butter. In a small sauce pan, heat your butter on low, stirring constantly until the color of the butter turns a golden brown and it gives off a nutty aroma. (If you’re looking for more tips on browning butter, check out this post!)
- When the butter is ready, immediately transfer it to a microwave safe bowl.
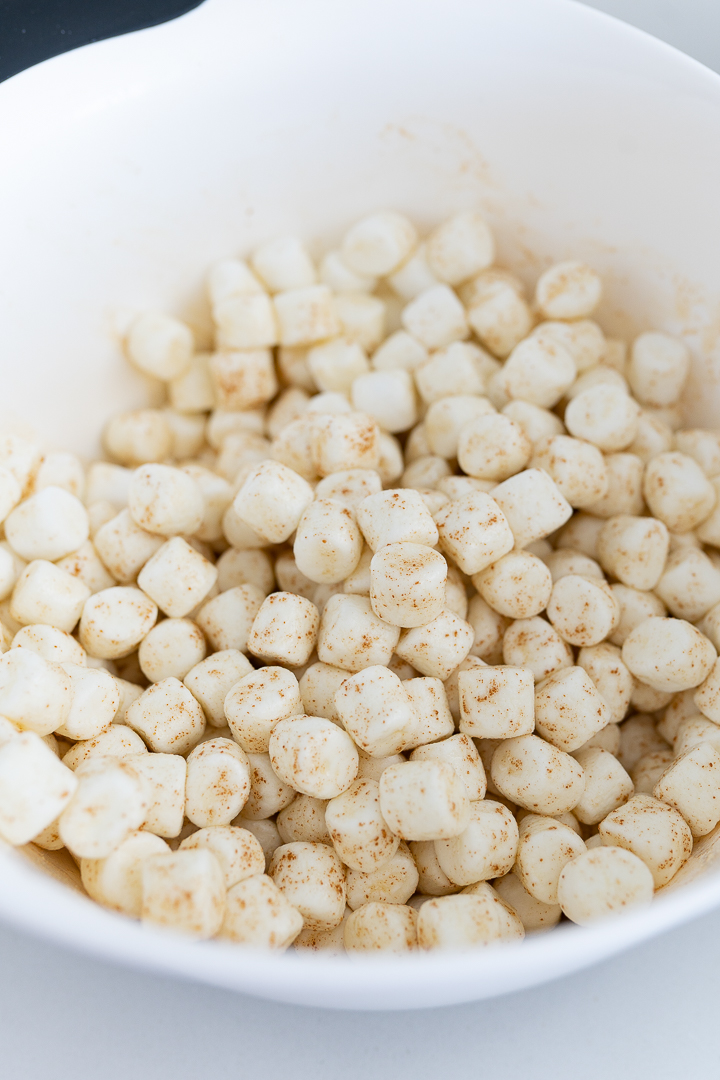
- Pour 3/4 of the bag of marshmallows into the bowl and stir with a spatula to coat with the melted butter.
- Place the bowl in the microwave and cook for 30 seconds. When the time is up, pull the bowl out and stir.
- Put the bowl back in the microwave and cook for 15 seconds or until the marshmallows are mostly melted. Avoid overheating the marshmallows as this will result in dry, hard rice krispy treats.
- Pour the marshmallow mixture into the bowl with the Rice Krispie cereal and stir to combine.
- Once everything is combined, add the remaining marshmallows from the bag to the mixture and mix until they are evenly distributed.
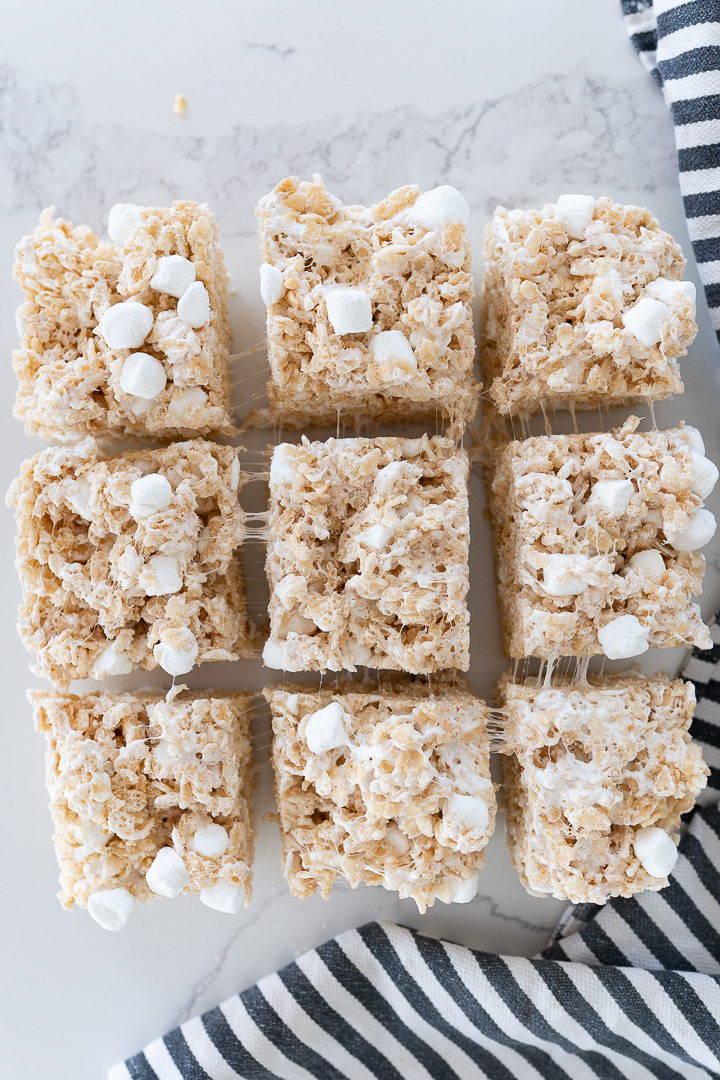
- While the mixture is still warm, gently press it into your pan with damp hands.
- Allow the treats time to set up then cut and serve! Brown Butter Rice Krispie treats are best eaten within 2 days.

Can I add other ingredients to brown butter Rice Krispie treats?
Yes, you can! I have added chocolate chips and butterscotch chips to these brown butter rice krispy treats and it takes them to the next level. Just be sure to add any extras in when you add the remaining marshmallows to the mix (step 8).
How long do brown butter rice krispis last?
The longer rice krispy treats sit out, the harder they will get. For the softest, freshest treat, I recommend consuming them within 2 days.
Can you freeze this treat?
Yes! To freeze rice krispy treats, cut into squares and allow them to cool completely. Once cool, wrap each square in parchment paper, place them in a gallon bag and put them in the freezer. When you’re ready to eat them, simply remove the bag and let them thaw on the counter.

More no bake desserts
Brown Butter Rice Krispie Treats
Ingredients
- 4 tbsp salted butter
- 6 cups crisp rice cereal
- 16 oz bag mini marshmallows

Instructions
- Measure the cereal out into a large bowl, set aside.
- In a small sauce pan, heat your butter on low, stirring constantly until the color of the butter turns a golden brown and it gives off a nutty aroma.
- Immediately transfer to a large microwave safe bowl.
- Pour 3/4 of the bag of marshmallows into the bowl and stir to coat with the melted butter.
- Place the bowl to the microwave and cook for 30 seconds and then stir.
- Repeat one more time for 15 seconds or until the marshmallows are mostly melted.
- Pour the marshmallow mixture into the bowl with the Rice Krispies and stir to combine.
- Once everything is combined, add the remaining marshmallows to the mixture and mix until evenly distributed.
- Gently press into a greased 9×9 or 9×13 pan with damp hands.
- Allow the treats to set up prior to cutting.

YUMMMM
Please I’m looking to make a gluten free cookie for a girl that can’t have gluten. She would love the sugar cookie wondering if it would be as good if I used gluten free flour
Hi Jackie! Absolutely. I recommend using a 1:1 gluten free flour like Bob’s Red Mills!
These are so good!