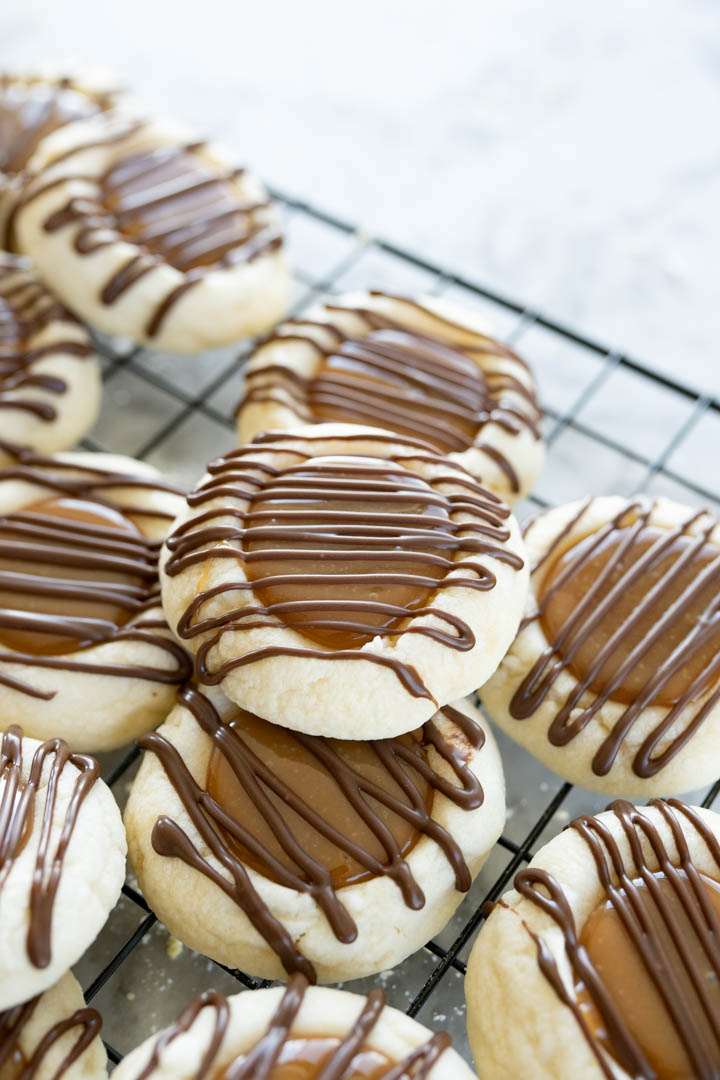
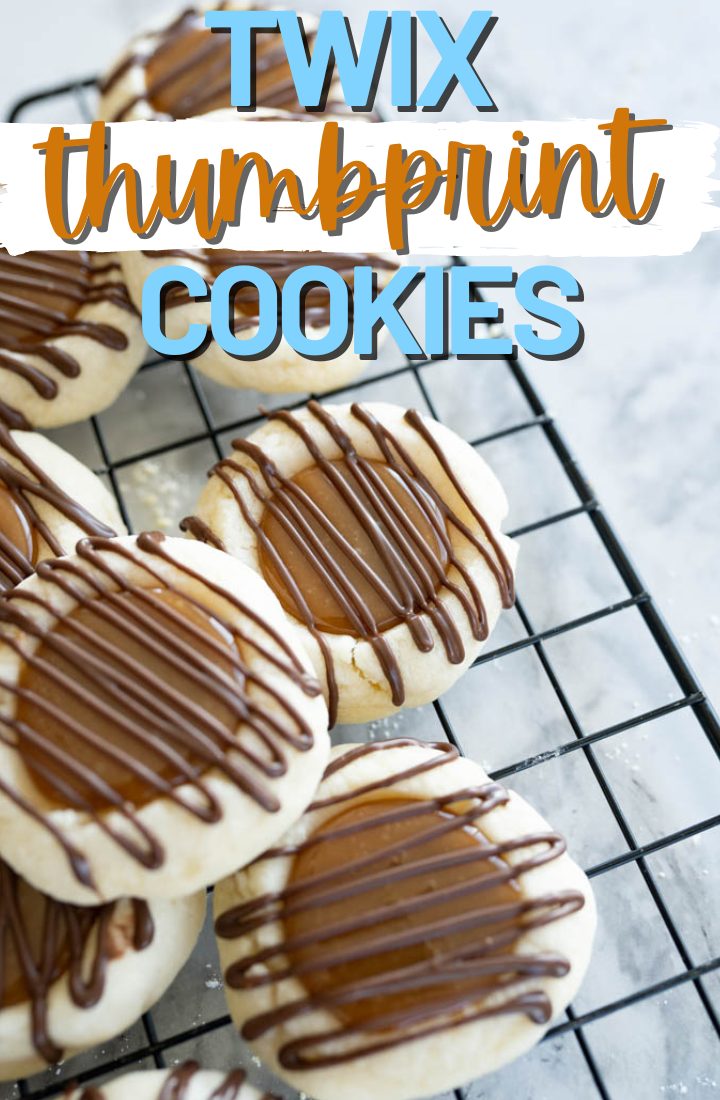
Twix Thumbprint Cookies
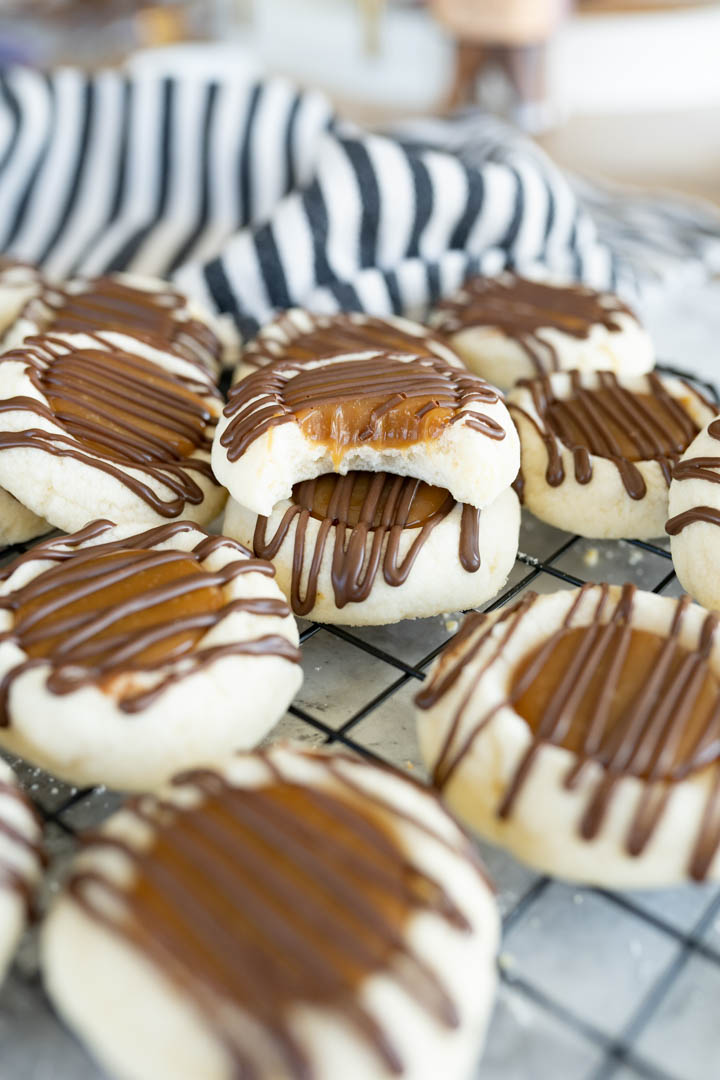
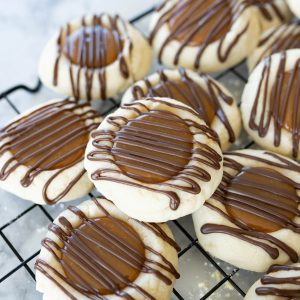
A melt-in-your-mouth buttery base topped with caramel and delicious chocolate – these Twix thumbprint cookies are as good as it gets!
Twix Cookie Recipe
A candybar / cookie mashup is probably one of my all-time favorites. And these Twix cookies? Dang, they may be the goat (Greatest Of All Time). Let’s talk about the base of the cookie first: in short, it’s perfection. It is buttery and sweet and designed to absolutely melt in your mouth upon taking a bite. Add to that yummy caramel and delicious chocolate – it’s like eating the candy. But trust me, these homemade Twix cookies are somehow better.

Bust these out when you’re craving a scrumptious, extraordinary cookie. Twix thumbprint cookies are sure to knock the socks off of everyone you share it with. So if you’re looking to make a statement about how awesome you are, pop off and bring these to your neighbors this week. They’re a guaranteed friendship builder.
Ingredients in Homemade Twix Cookies
- Salted butter, softened – I always, always use salted butter. If you don’t have any on hand, you can use unsalted and add an extra pinch of salt to the dough.
- Powdered Sugar – The combo of powdered sugar and cake flour makes this cookie super soft and causes it to basically melt in your mouth.
- Egg
- Vanilla extract
- Cake flour – Cake flour will make the cookies so soft and fluffy. You can sub homemade cake flour if needed.
- Baking powder
- Salt
- Soft caramels – I use Werther’s soft caramels in this recipe.
- Milk
- Milk chocolate melting wafers – You can use milk chocolate melting wafers like I did or just melted chocolate chips. I like the melting wafers because they always set back up so nicely.
How to Make Twix Thumbprint Cookies
- Preheat the oven to 350° F. Line a cookie sheet with parchment paper or a silicone baking mat. Set aside.
- In the bowl of a stand mixer, combine the butter, powdered sugar and egg until well combined.
- Add the vanilla extract and mix well.
- Lastly, add the cake flour, baking powder and salt. Mix until a very soft dough forms.
- Allow the dough to sit for 5 or so minutes to make it easier to handle.
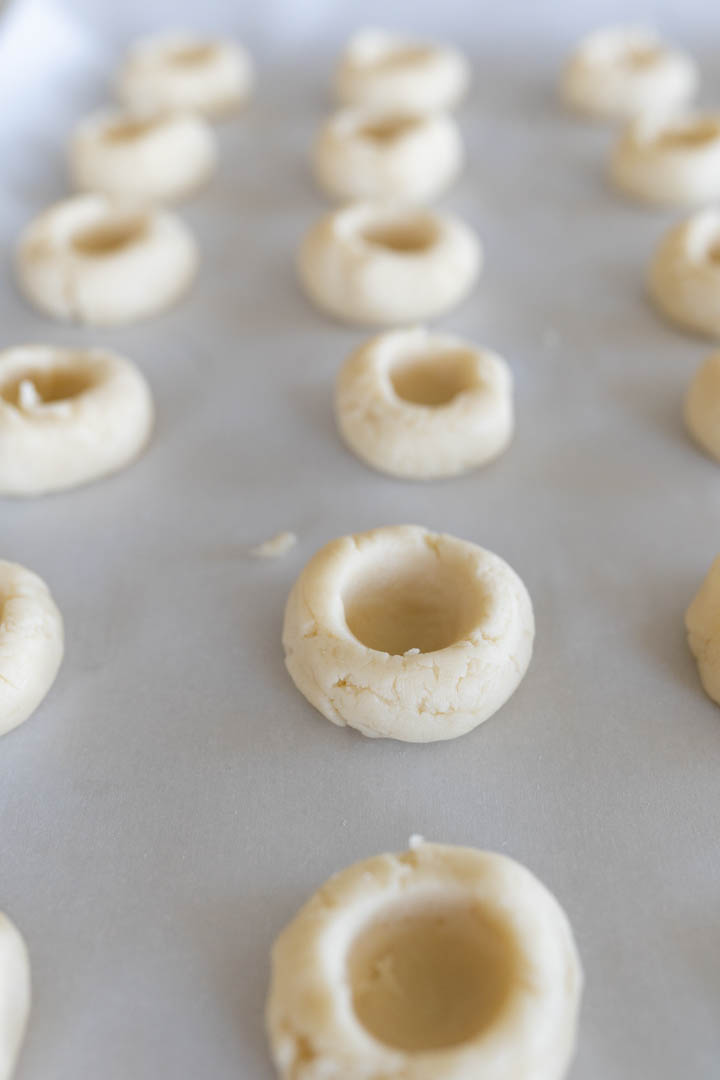
- Portion the dough out into 1 tbsp portions. Roll into a ball and arrange on the cookie sheet.
- Using a 1/2 tsp measuring spoon, press down in the center of the ball of dough to make a crater. I find that this is easier if I dip the measuring spoon into flour in between pressing on each ball of dough.
- Once all of the cookies have been pressed, bake at 350° F for 8-10 min. The cookies will spread but should have a faint crater in the middle still.
- Immediately after pulling the cookies out of the oven, take a 1 tbsp measuring spoon and press down in the center of the cookie, deepening the ‘thumbprint’.*
- Allow the cookies to cool completely.
- Once the cookies are completely cool, melt together the caramels and milk in the microwave. Microwave for 30 seconds and then stir until melted and smooth.
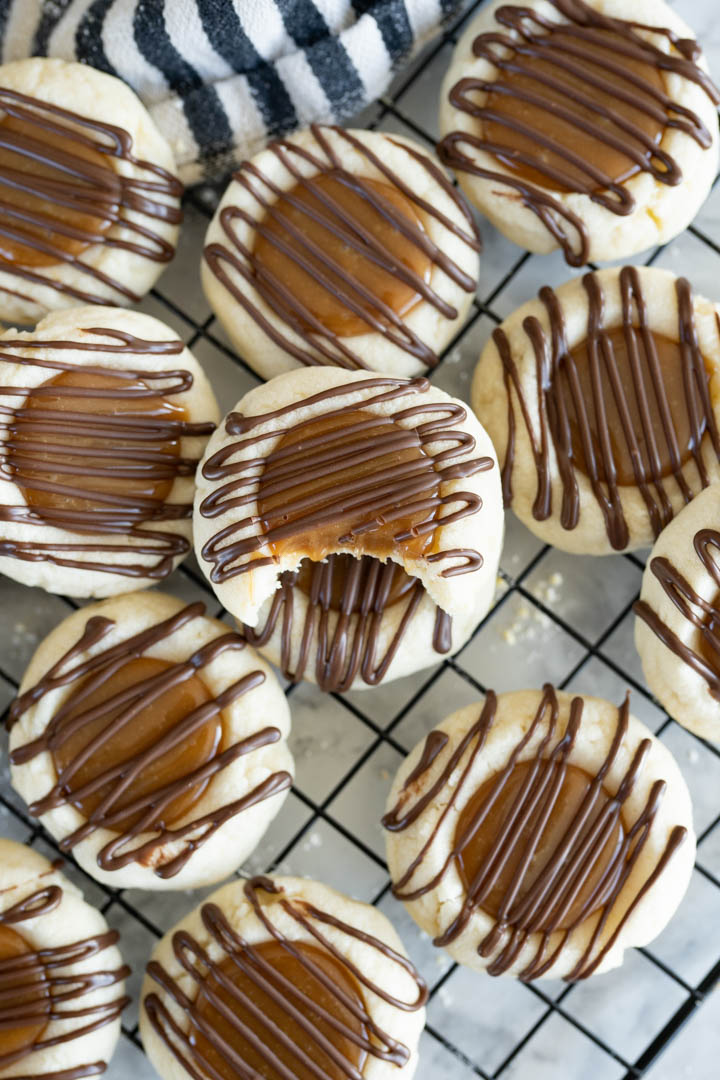
- Carefully spoon caramel into the center of each cookie. Allow the caramel to set up – the cookies can be placed in the fridge to help speed up this process.
- Once the caramel has set up, drizzle melted milk chocolate onto the tops of the cookies.
- Once the chocolate has set up- enjoy!
- Can store at room temperature or in the fridge for up to 4 days.
*Note: I have tried leaving the cookies as a ball, baking and then making the thumbprint after they come out of the oven and it does not work – the cookies fall apart.
How can I store Twix thumbprint cookies to keep them fresh?
Once cooled, store your cookies in an airtight container on the counter or in the fridge for up to 4 days!
Can I freeze these cookies for later enjoyment?
These cookies freeze really well and can be stored in a labeled resealable freezer bag for up to 3 months. Check out this post for more info on how to freeze cookies!
More Recipes to Get your Twix Fix
Twix Thumbprint Cookies
Ingredients
- 1 cup (222g) salted butter, softened
- 1 1/4 cup (137g) powdered sugar
- 1 egg
- 3 tsp vanilla extract
- 2 1/2 cups (295g) cake flour
- 1 tsp baking powder
- 1/2 tsp salt
- 30 soft caramels
- 1 tbsp milk
- 1/2 cup milk chocolate melting wafers *can also use melted chocolate chips

Instructions
- Preheat the oven to 350° F (180°C). Line a cookie sheet with parchment paper or a silicone baking mat. Set aside.
- In the bowl of a stand mixer, combine the butter, powdered sugar and egg until well combined.1 cup (222g) salted butter, softened , 1 1/4 cup (137g) powdered sugar, 1 egg
- Add the vanilla extract and mix well.3 tsp vanilla extract
- Lastly, add the cake flour, baking powder and salt. Mix until a very soft dough forms.2 1/2 cups (295g) cake flour , 1 tsp baking powder, 1/2 tsp salt
- Allow the dough to sit for 5 or so minutes to make it easier to handle.
- Portion the dough out into 1 tbsp portions. Roll into a ball and arrange on the cookie sheet.
- Using a 1/2 tsp measuring spoon, press down in the center of the ball of dough to make a crater. I find that this is easier if I dip the measuring spoon into flour in between pressing on each ball of dough.
- Once all of the cookies have been pressed, bake at 350° F (180°C) for 8-10 min. The cookies will spread but should have a faint crater in the middle still.
- Immediately after pulling the cookies out of the oven, take a 1 tbsp measuring spoon and press down in the center of the cookie, deepening the ‘thumbprint’. Note: I have tried leaving the cookies as a ball, baking and then making the thumbprint after they come out of the oven and it does not work. the cookies fall apart.
- Allow the cookies to cool completely.
- Once the cookies are completely cool, melt together the caramels and milk in the microwave. Microwave for 30 seconds and then stir until melted and smooth.30 soft caramels , 1 tbsp milk
- Carefully spoon caramel into the center of each cookie. Allow the caramel to set up- the cookies can be placed in the fridge to help speed up this process.
- Once the caramel has set up, drizzle melted milk chocolate onto the tops of the cookies.1/2 cup milk chocolate melting wafers
- Once the chocolate has set up- enjoy!
- Can store at room temperature or in the fridge for up to 4 days.

Can these cookies be made ahead and frozen for a month or so?
Yes!
Can they be frozen?
Yes!
can I use regular square caramels?
can I use regular caramels?
Sure! A bag of caramels usually will have instruction on melting them down on it. If not, I would google how it is suggested to do that for the brand of caramels you have.
Can I use all-purpose flour instead? Same amount?
You can try- I haven’t tested it though and it may effect how the cookie spreads while baking.
My batch spread thin – cookies didn’t hold shape at all. I used food scale to weight sugar & flour. Maybe I’ll try again tomorrow and use measuring cups. Should I mix until dough ball forms?
Hi! You will mix until a soft dough forms and then let it rest for 5 or so minutes. I recommend baking a tester cookie to ensure the final texture meets your expectations before baking up the whole batch! If the cookies are spreading too much, you can add up to an additional 1/4 cup of flour and see if that helps. If you’re still running into problems, try increasing the oven temperature by about 10°!
Such a delicious cookie for the holidays! Everyone loved them!!
Is there any change for high altitude?
These were made at 4500′. If you bake a test cookie and they are spreading, you can add up to 1/4 cup more flour as needed.
These were the best, most structurally sound thumbprint I’ve ever made. The caramel sets SO nicely. They look polished. I also can’t stop eating them. Fantastic recipe. Please consider testing a raspberry jam version with this dough for the next holiday season!
I knew from looking at the recipe that this wasn’t going to be enough chocolate for me so, before doing the caramel step, I dipped the bottoms in melted chocolate wafers and let those set. Then, did the caramel and drizzle with more chocolate. Wonderful!