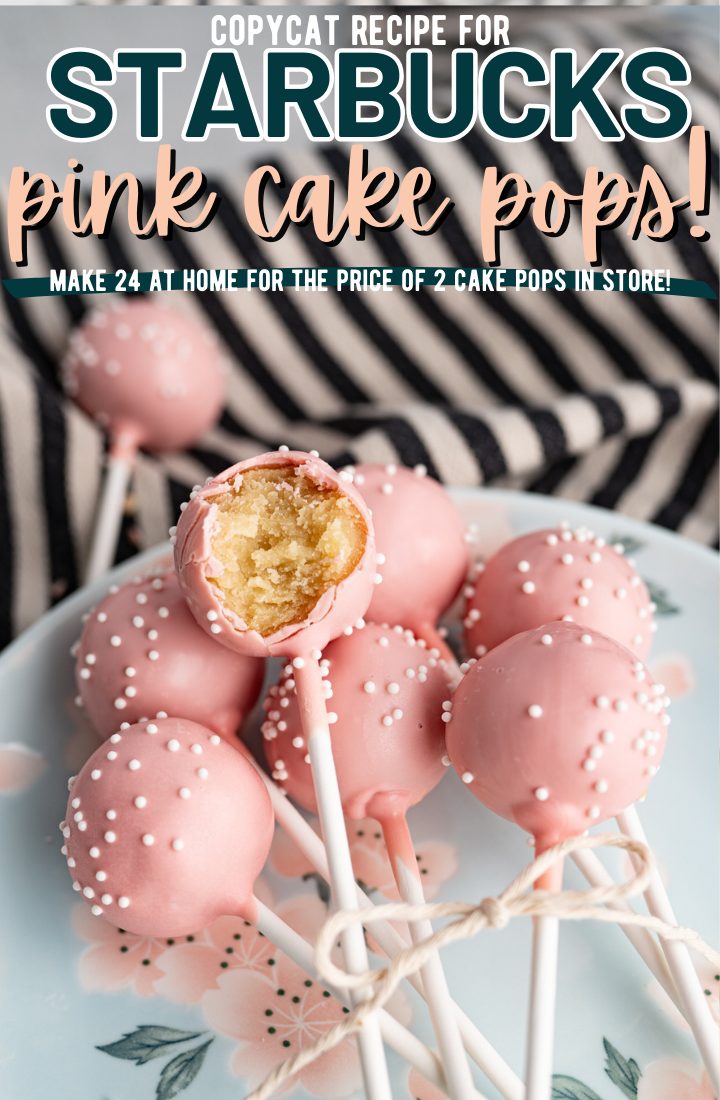
Starbucks Birthday Cake Pop Recipe
Ever since I released my ultra easy cake pop recipe (that now has over 19.7 MILLION views on social) I’ve been getting requests to make a Starbucks Birthday Cake Pop. This recipe for Starbucks cake pops is the perfect copycat and is SO easy.
Copycat Starbucks Cake Pop Recipe
Not to toot my own horn, but my popular method for making cake pops is insanely easy and this Starbucks cake pop recipe is no different. Here’s the secret: making homemade cake pops doesn’t have to be difficult to be beyond yummy! All you have to do is throw AN ENTIRE CAKE into your mixing bowl straight out of the oven. Mix it with your paddle attachment and add a little powdered sugar and vanilla to create the best dupe for the popular Starbucks cake pop you’ll find on the internet.

Starbucks Cake Pops Price
In the name of research, I bought two cake pops and it was over SEVEN DOLLARS. For two! So obviously, once I had perfected my Starbucks cake pop recipe, I calculated how much my homemade version cost. With this recipe, you can make 24 cake pops for only $8, which means each individual cake pop is ONLY $0.35 FOR EACH CAKE POP. And if we’re being honest, I liked my cake pops better.
Starbucks Cake Pop ingredients
- Vanilla cake mix – You’ll also need all of the ingredients on the back. Bake this as normal!
- Powdered sugar
- Vanilla extract
- Light pink color melts – You can choose a different color if you’d like, but to be the Starbucks dupe you need it to be pink.
- White nonpareils sprinkles – This is optional, but again, to stay true to Starbucks you’ll need these!
- Lollipop sticks
How to make Starbucks Cake Pops
- Prepare and bake the cake mix according to the boxed directions.
- Immediately after taking the cake out of the oven, pour the hot cake into the bowl of a stand mixer. (Do not over cook the cake! if so, it will have a harder time coming together)
- Add in the powdered sugar and vanilla extract and using the paddle attachment, mix on low speed until a dough forms that can be pressed together into a ball.
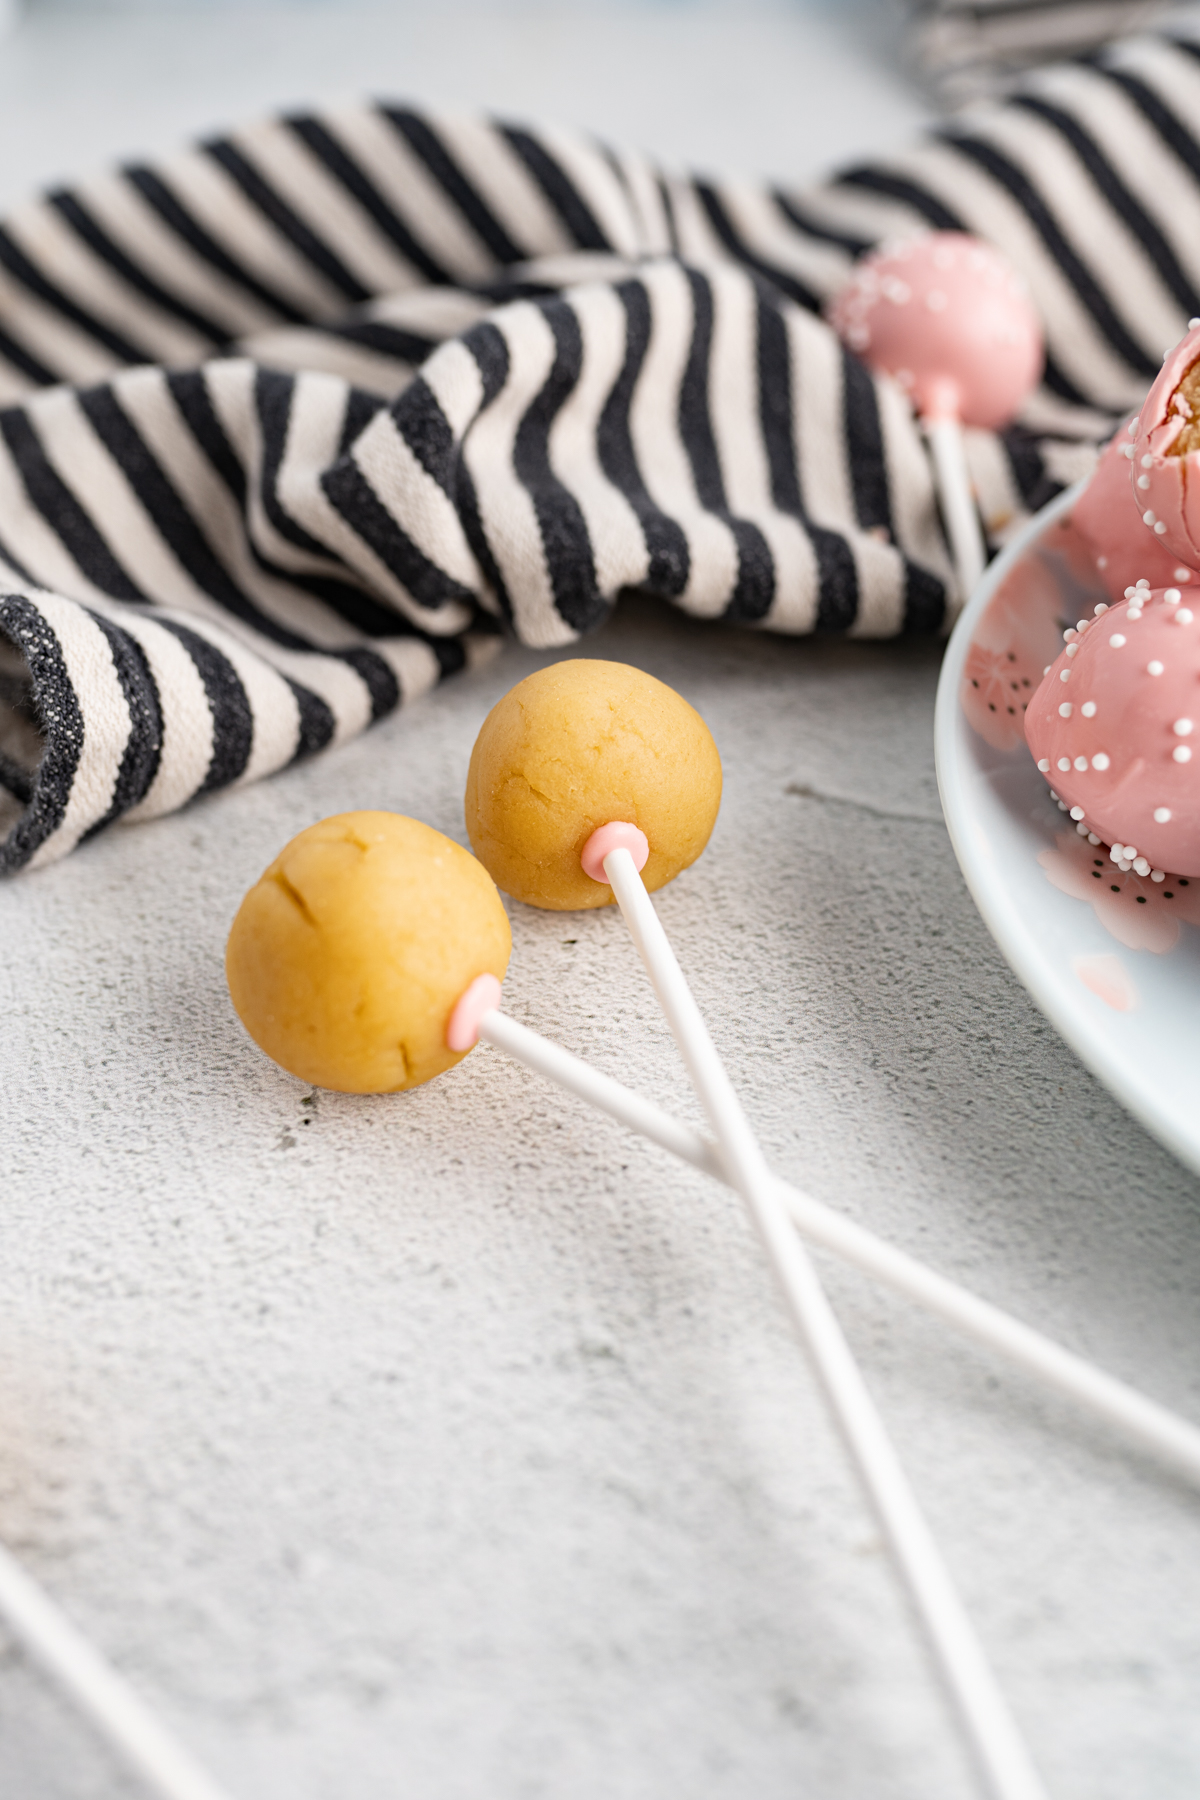
- Portion out the dough and press into a ball in the palm of your hands or with a cake pop press.
- Place the cake balls on a cookie sheet and then into the freezer to chill.
- Melt the colormelts.
- Once the chocolate coating is melted, remove the cake balls from the freezer.
- Dip each lollipop stick into the candy melt and then press the stick into the center of each cake ball. This will help avoid the cake pop falling off of the stick.
- Return to the fridge or freezer to help speed up the process of the stick and chocolate setting.
- Once the chocolate is set on the sucker sticks, pour the remaining melted candy melt into a tall, skinny jar or glass.
- Dip the cake pops one by one in the candy melt and gently shake the cake pop to remove any excess melted chocolate. Tip right side up and add sprinkles, if desired.
- Allow the candy melt to set while the cake pop is right side up, you can poke holes into a cardboard box or foam block to help them stand up straight to dry, if desired.
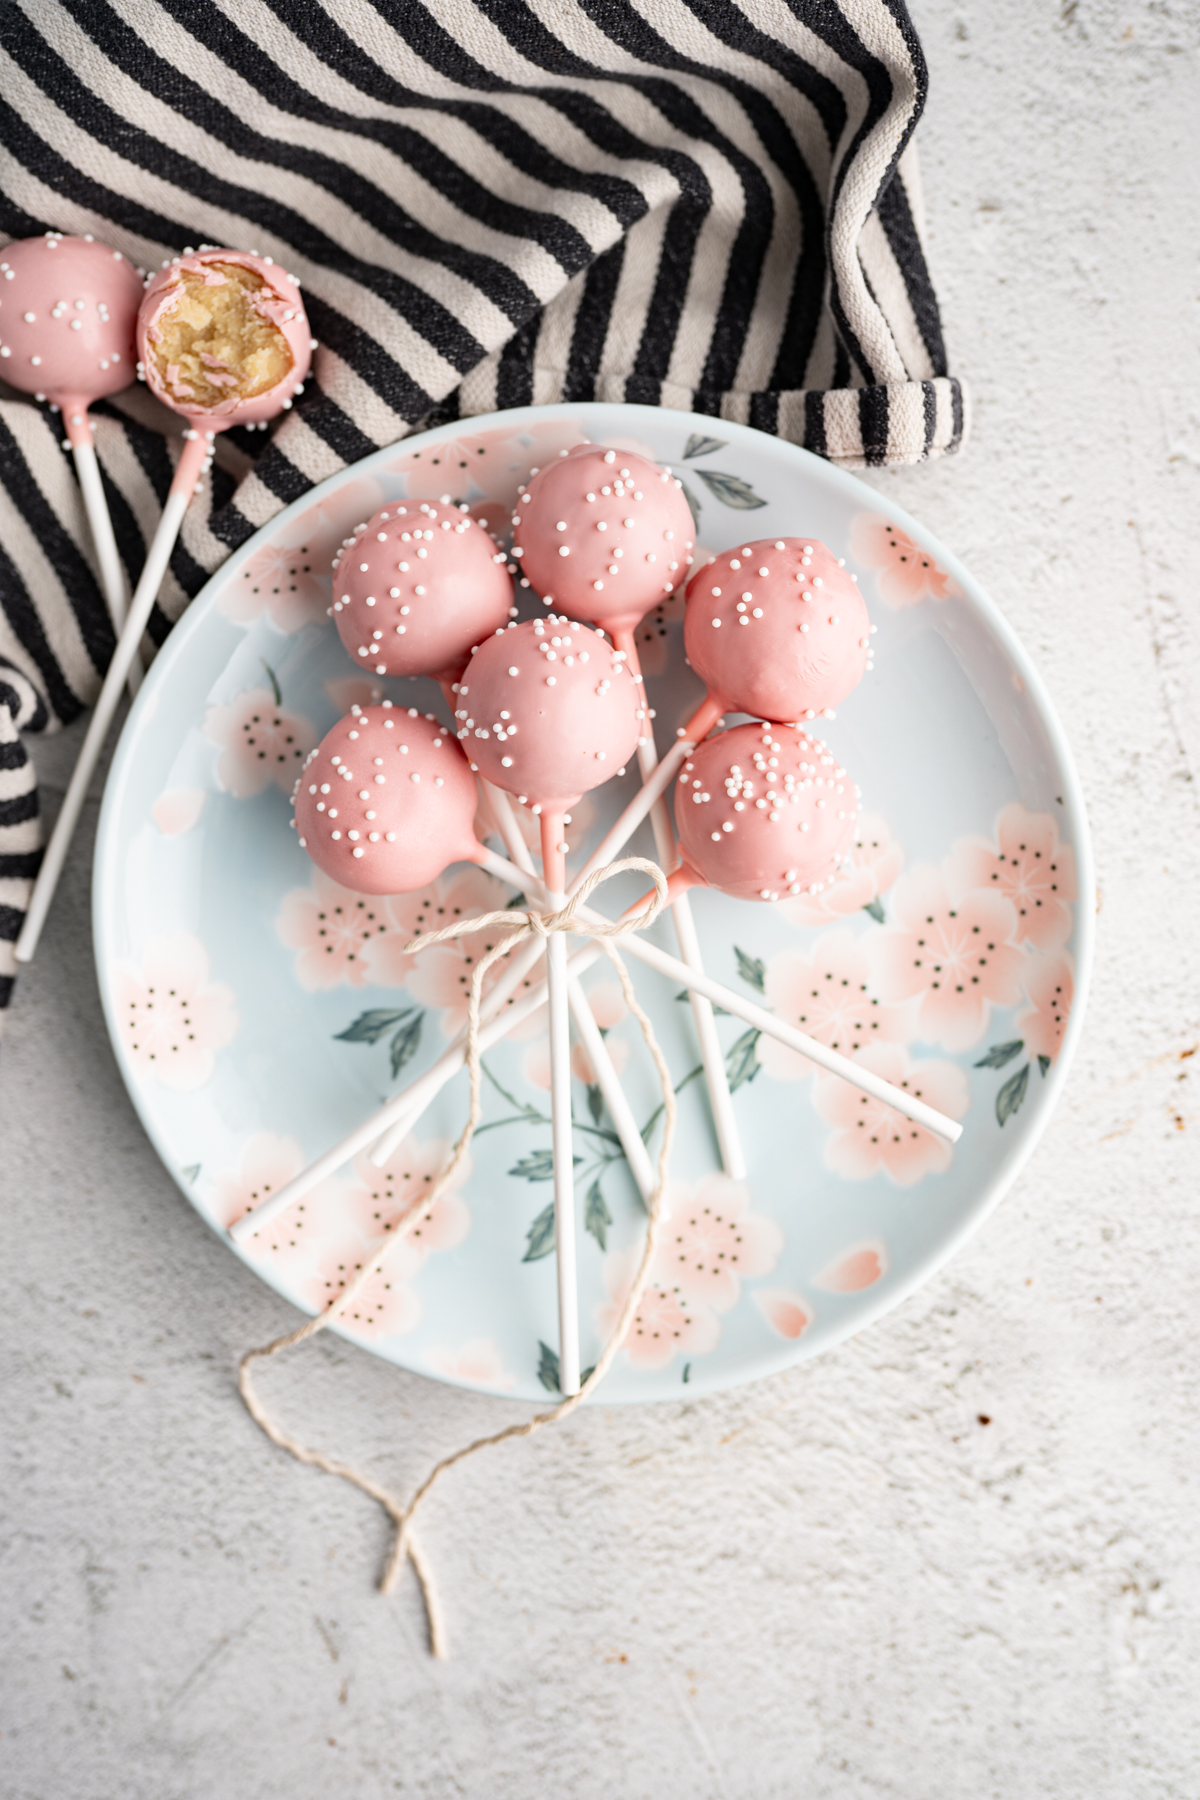
- Serve as is or package up individually in bags with ribbon if desired.
- Enjoy! Store at room temp for up to 3 days.
How to store this Starbucks Birthday Cake Pop Recipe
Once your cake pops have set, store in an airtight container at room temperature for up to 3 days.
Starbucks Birthday Cake Pop FAQs
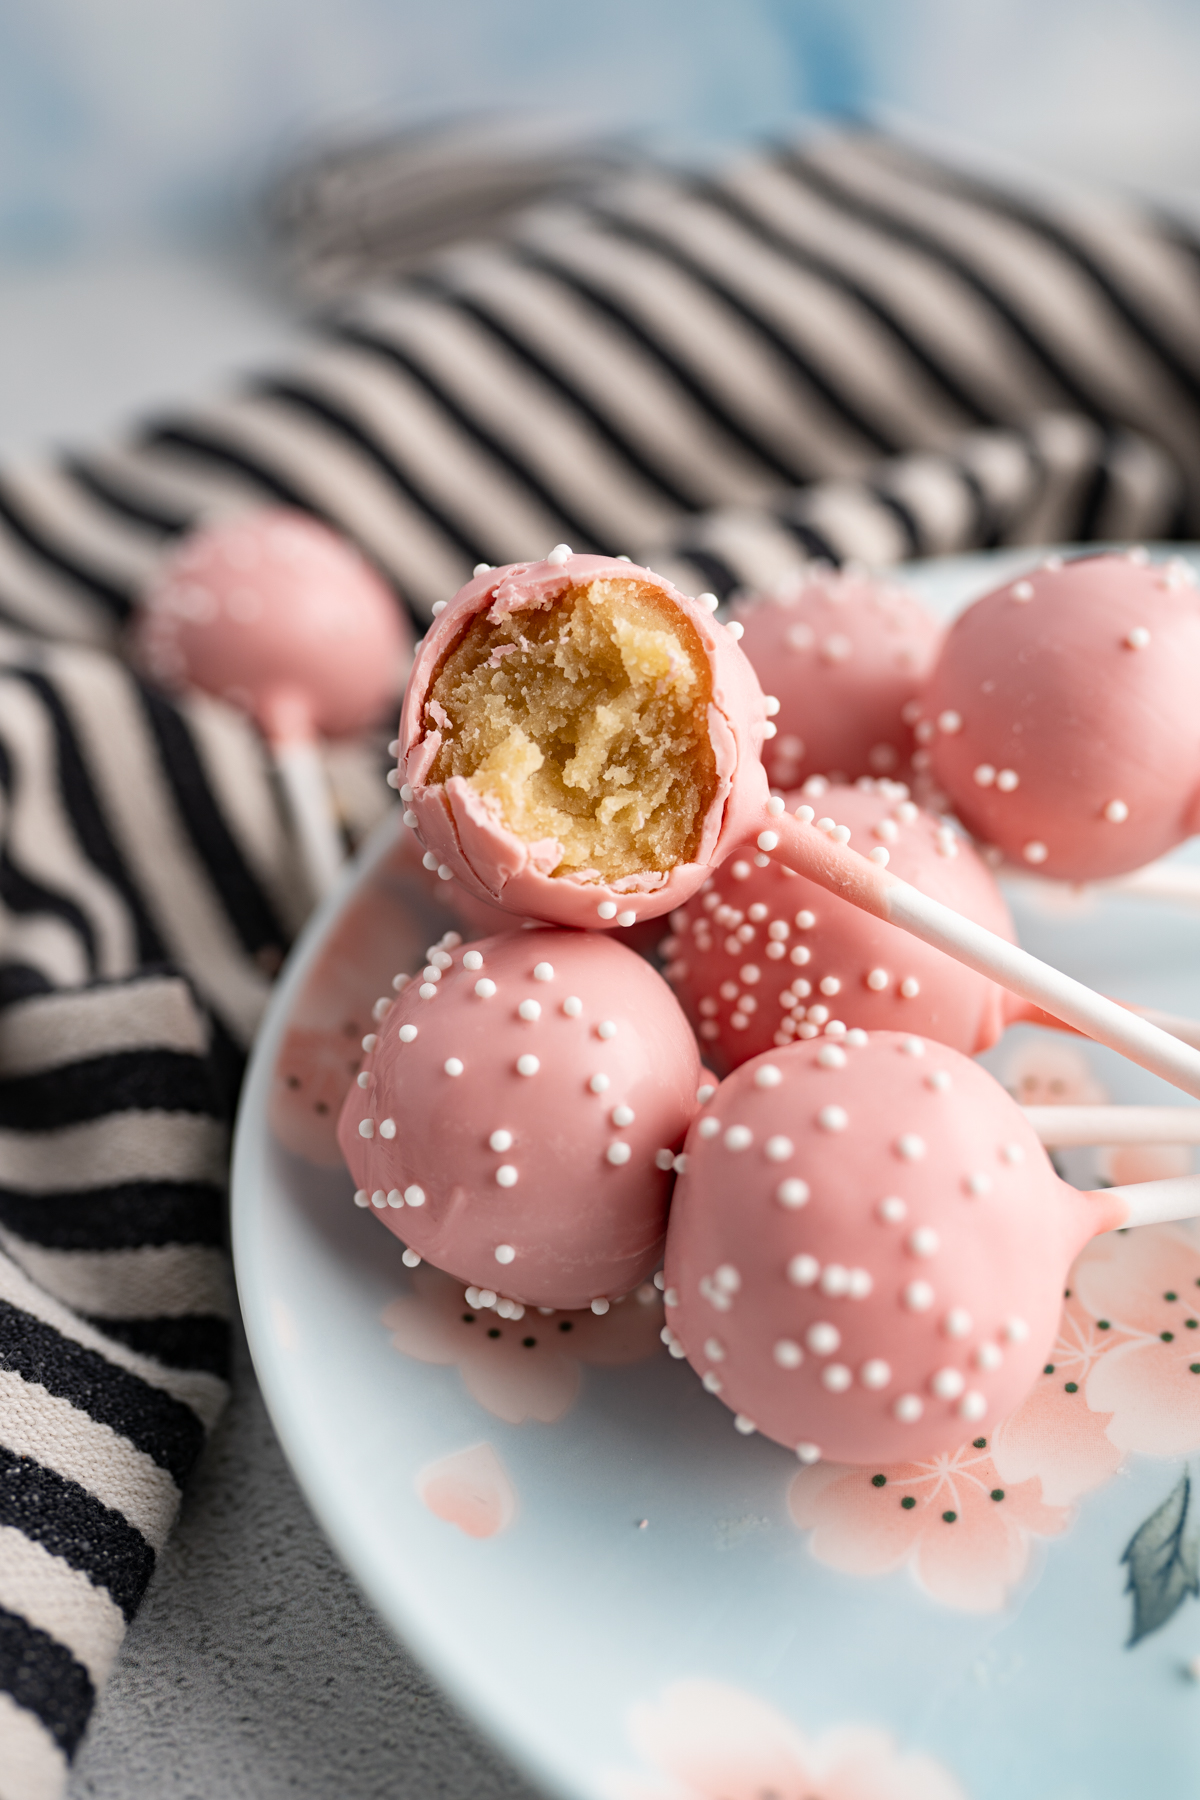
It is a delicious moist, tender, vanilla cake with a white chocolate candy melt coating.
The Starbucks cake pop is $3.75 a pop!
This recipe makes 24 cake pops out of one cake mix. That means each cake pop comes out to $0.35!
Other Copycats to Love
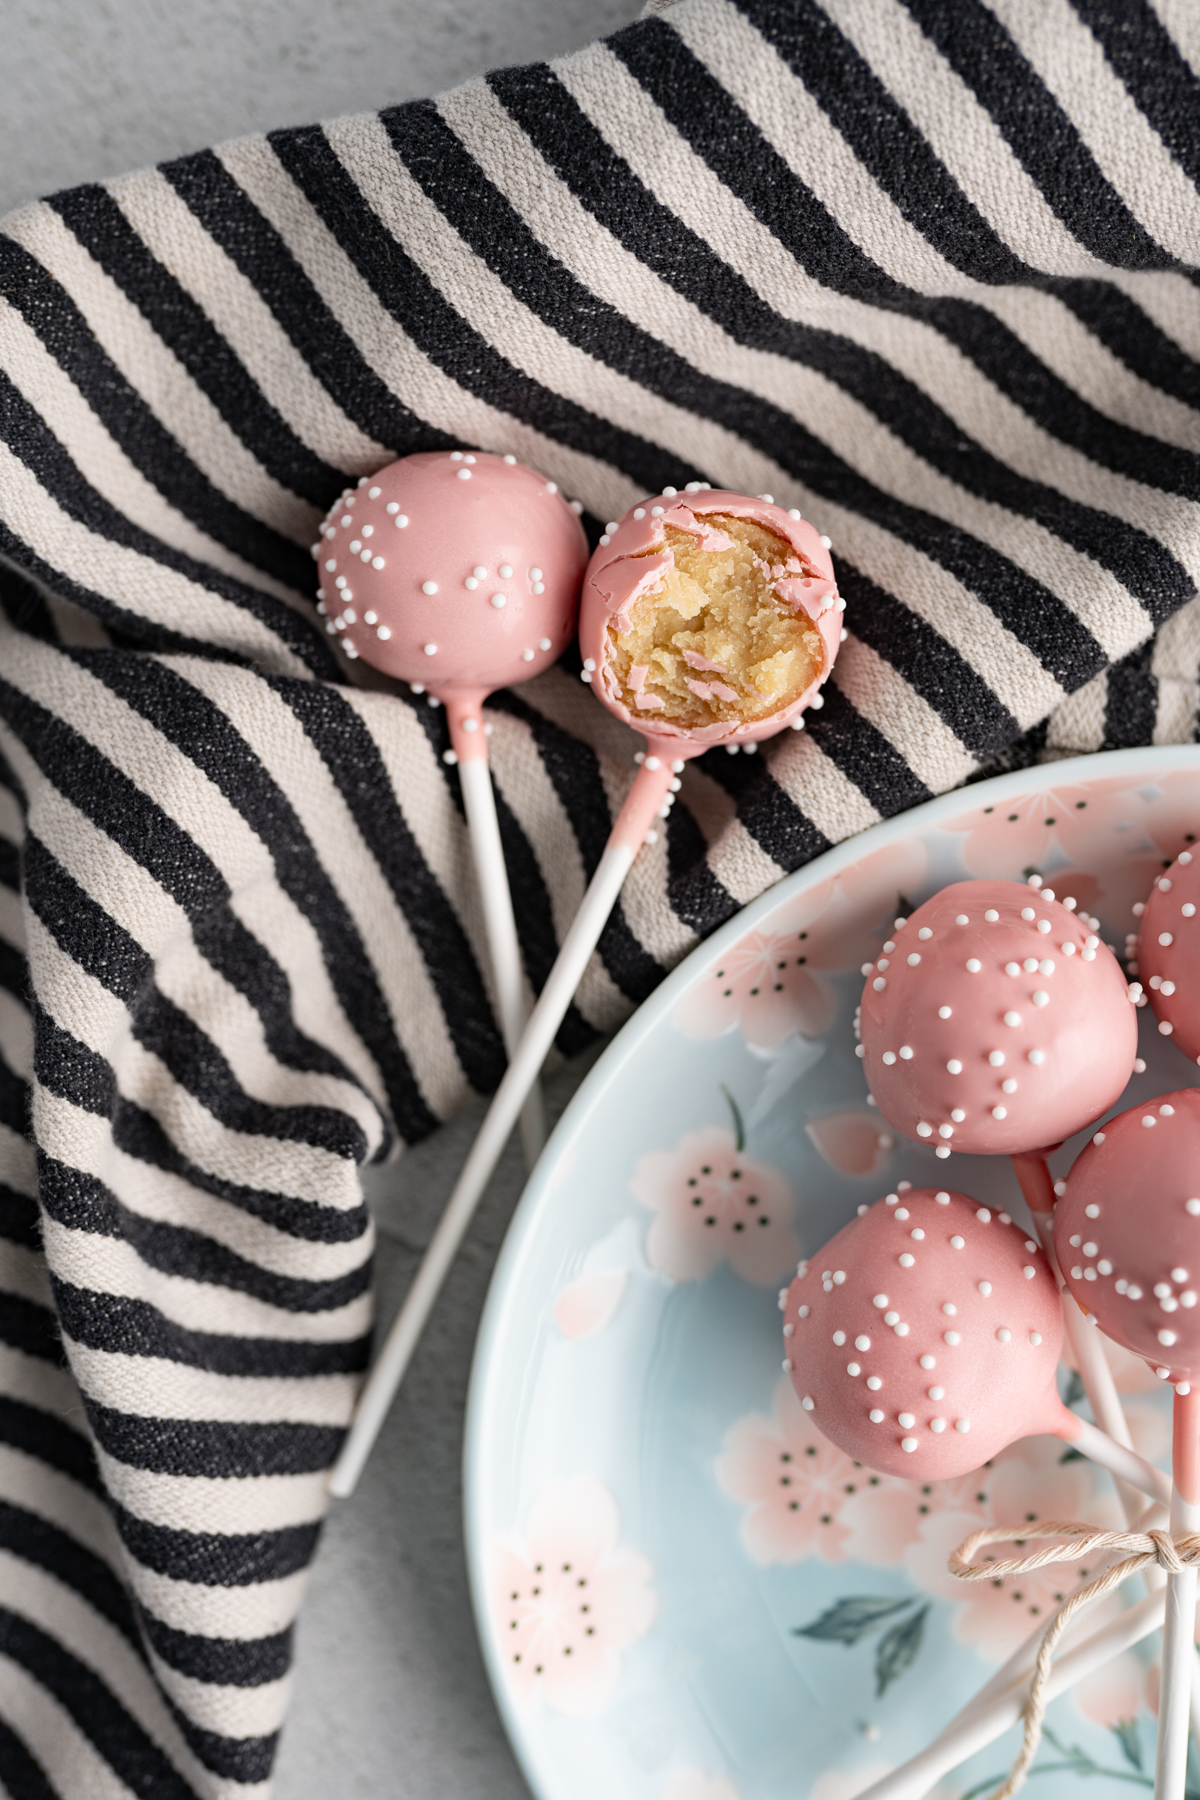
Birthday Cake Pop (Starbucks)
Ingredients
- 1 box vanilla cake mix (plus the ingredients on the back)
- 1/4 cup (27g) powdered sugar
- 1/2 tsp vanilla extract
- 12 oz light pink color melts
- white nonpareils sprinkles
- 24 lollipop sticks

Instructions
- Prepare and bake the cake mix according to the boxed directions.1 box vanilla cake mix
- Immediately after taking the cake out of the oven, pour the hot cake into the bowl of a stand mixer. (Do not over cook the cake! if so, it will have a harder time coming together)
- Add in the powdered sugar and vanilla extract and using the paddle attachment, mix on low speed until a dough forms that can be pressed together into a ball.1/4 cup (27g) powdered sugar , 1/2 tsp vanilla extract
- Portion out the dough and press into a ball in the palm of your hands or with a cake pop press.
- Place the cake balls on a cookie sheet and then into the freezer to chill.
- Melt the colormelts.12 oz light pink color melts
- Once the chocolate coating is melted, remove the cake balls from the freezer.
- Dip each lollipop stick into the candy melt and then press the stick into the center of each cake ball. This will help avoid the cake pop falling off of the stick.24 lollipop sticks
- Return to the fridge or freezer to help speed up the process of the stick and chocolate setting.
- Once the chocolate is set on the sucker sticks, pour the remaining melted candy melt into a tall, skinny jar or glass.
- Dip the cake pops one by one in the candy melt and gently shake the cake pop to remove any excess melted chocolate. Tip right side up and add sprinkles, if desired.white nonpareils sprinkles
- Allow the candy melt to set while the cake pop is right side up, you can poke holes into a cardboard box or foam block to help them stand up straight to dry, if desired.
- Serve as is or package up individually in bags with ribbon if desired.
- Enjoy! Store at room temp for up to 3 days.

How do you get the chocolate to melt smooth enough that the cake pop goes in easily?
I use a high quality candy melt (not chocolate) so it melts pretty smoothly on its own! If needed, you can also add a little bit of oil to the melts to make it a little easier for dipping.
what brand candy melts do you recommend.. in canada
Any candy melts you have available should work! You can also use something like almond bark if that is more readily available.
Any tips for preventing the cake from cracking while rolling it into a ball?
If the cake is cracking, you may have over baked the cake just slightly. I recommend baking the cake for slightly less time and immediately pouring the baked cake into your mixer – the heat will help bind it together a bit better.
This is it!! Other recipes use frosting but this one is perfect because of the method with hot cake and powdered sugar. Thanks!!
These turned out perfect! I’m bragging to everyone about how great my cake pops just turned out. Followed this recipe exactly and had no issues! Most annoying part was getting an even coating of the candy melts but they still turned out great with all their imperfections.
I don’t have a stand mixer. Would a blender work?
I don’t think a blender would work here, but an electric hand mixer will!
OMG I think I’m the only one who failed at this! I couldn’t get my candy melts to the right consistency and therefore the cake started falling apart or off the stick! My suggestion would be to use a good quality candy melt!
Amazing!!
Thanks Karli
Hey Karli!
I made these last night for my son’s Valentine’s Day party at school today (delicious, btw!), however they canceled school :/
How far ahead can these be made? Can I freeze them? And if so, for how long?
He returns to school Tuesday. (They were made Wednesday night – so it would be about 6 days).
Thank you!
Hi Misty! What a bummer – for future reference, you can totally freeze these! Once your cake pops are set, place them in a freezer bag and store for up to 3 months. Careful where you put them in your freezer to avoid being squished.
If I leave these in the freezer before dipping, will they still come out ok? thanks!
Hi Erin, that should work! Let me know how they turn out.
It looks yumy