Classic Peanut Butter Hershey Kiss Cookies
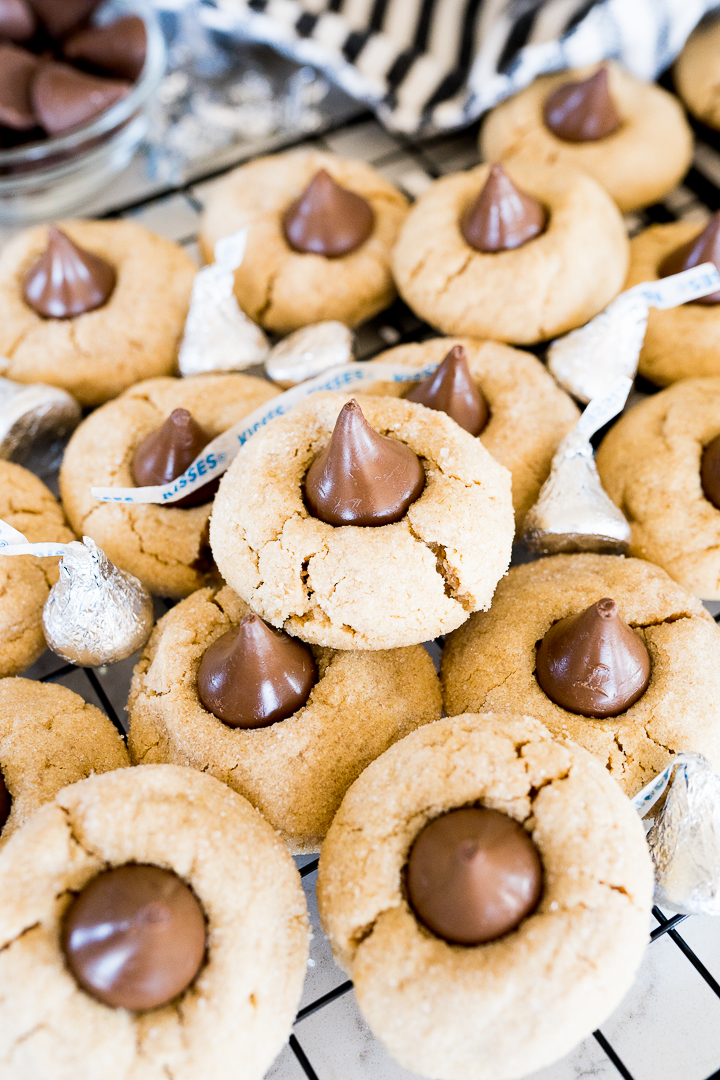
Peanut butter cookies are my weakness, plain and simple. But top them with a hershey’s kiss & they’re downright addictive! You’re going to love these classic peanut butter Hershey kiss cookies!
Jump to Recipe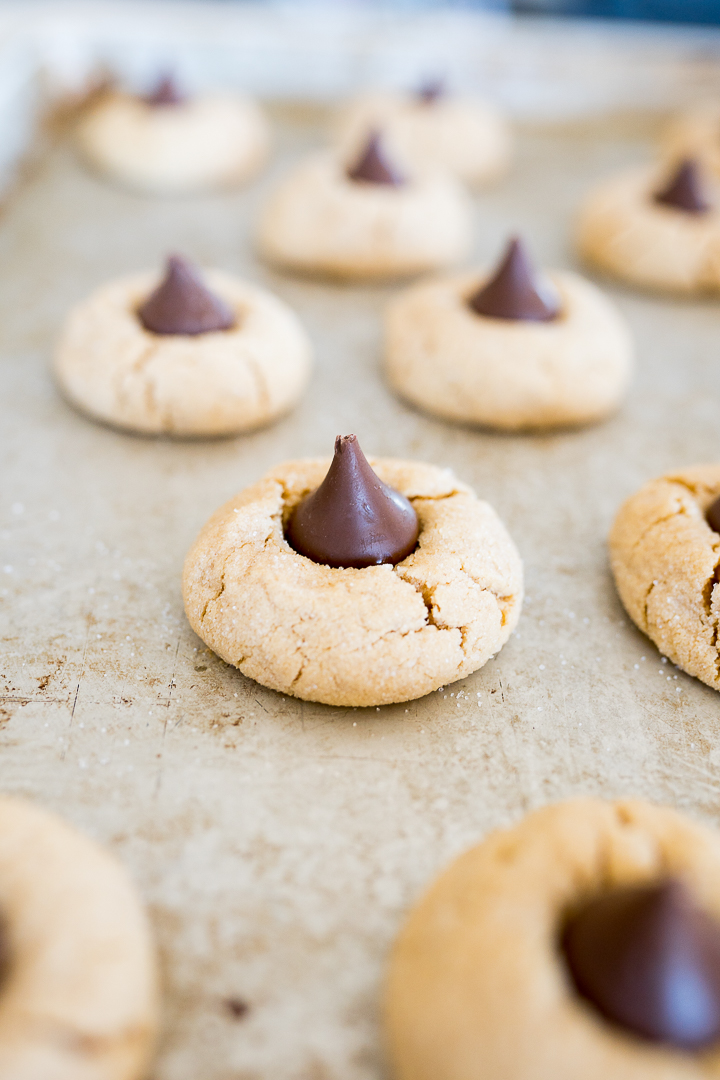
Peanut Butter Blossoms Recipe
Let me tell you, these peanut butter blossom cookies are a classic for a reason! Perfectly soft, chewy and peanut butter-y, rolled in sugar and then topped with a slightly melty Hershey’s kiss? They’re absolutely drool-worthy. While peanut butter kiss cookies are often made around the holidays, they aren’t just a Christmas cookie.

Break these peanut butter kiss cookies out for any occasion and watch how quickly they disappear! Perfect for parties, hangouts and after school / late night snacks – this cookie is guaranteed to bring smiles wherever it is served (and without a ton of work!)
What ingredients are in Peanut Butter Kiss Cookies?
- Creamy peanut butter – Don’t use the natural peanut butter. Use something like jiffy!
- Salted butter, softened – I always use salted butter! You can use unsalted, just add an extra pinch of salt to the dough.
- Granulated sugar – Equal parts granulated and brown sugar ensure the cookie is soft with the perfect flavor.
- Brown sugar
- Egg
- Milk – The milk will help the cookies spread just slightly and give the cookie a soft, creamy consistency.
- vanilla extract
- All-purpose flour
- baking powder – The baking powder will help the cookies puff up and stay soft.
- salt
- Hershey’s Kisses – Pro tip: unwrap the kisses while the cookies are in the oven.
How to Make Peanut Butter Blossom Cookies
- Preheat your oven to 375°F (190°C) and line a cookie sheet with parchment paper or a silicone baking mat.
- Using a mixer, blend together the peanut butter, butter, white sugar, and brown sugar until well combined.You will want to mix it for a couple of minutes so it gets nice and fluffy and light in color.
- Next, add the egg, milk, and vanilla, and beat until the mixture is smooth and fully incorporated.
- In a separate bowl, combine the flour, baking powder, and salt.
- Gradually add the dry flour mixture to the peanut butter mixture, mixing until a dough forms.
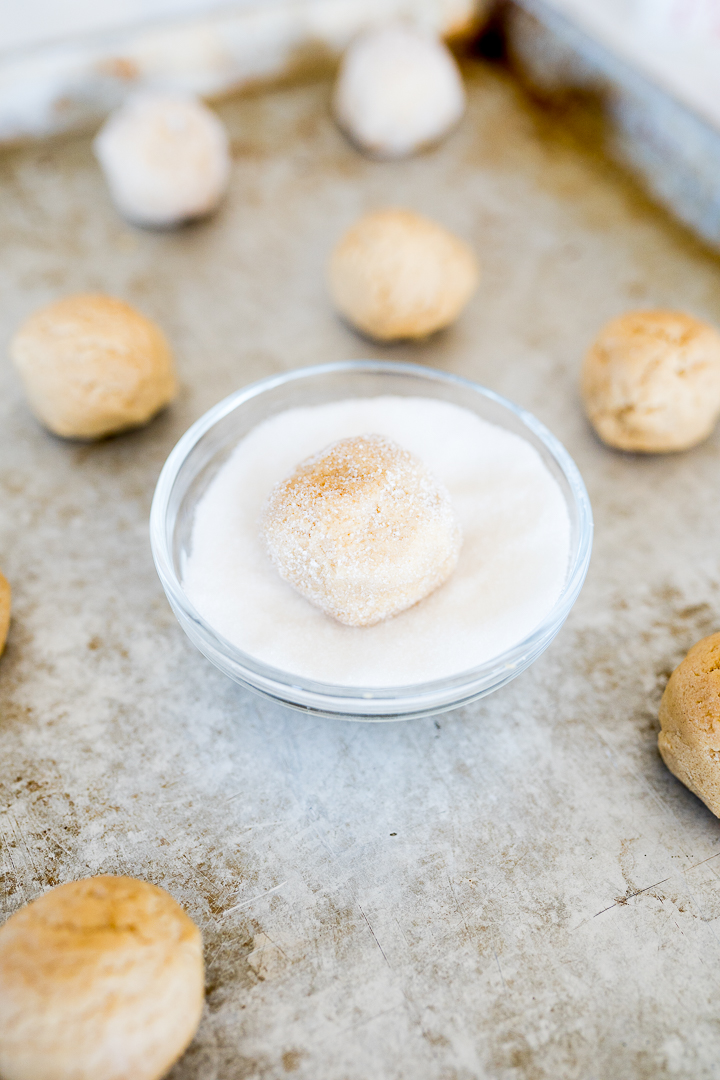
- Roll the dough into tablespoon-sized balls and then roll into sugar. Place your cookie dough balls on your prepped cookie sheets. Ensure there’s about 2 inches of space between each cookie.
- Bake the cookies at 375°F (190°C) for 7-9 minutes. Be cautious not to overcook; these cookies are best when they are soft and just cooked through.
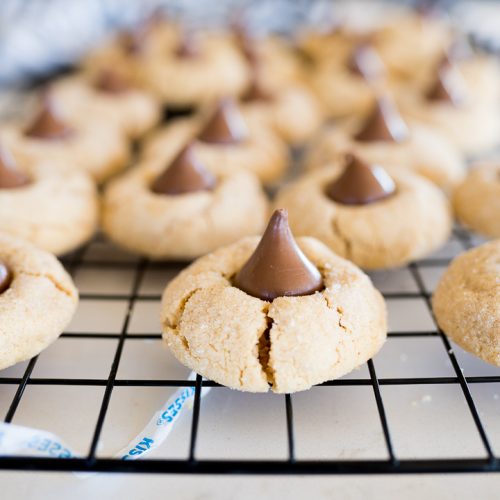
- As soon as you take the cookies out of the oven, gently press a Hershey’s Kiss into the center of each one.
- Allow the cookies to cool, giving the chocolate time to set, before serving.
- Enjoy!

How should I store my peanut butter blossom cookies?
Once cooled, store your cookies in an airtight container on the counter for 3-5 days! These cookies also freeze really well and can be stored in a resealable freezer bag for up to 3 months. I have a post all about how to freeze cookies if you need more guidance!
Are there any creative variations I can try with my peanut butter blossom cookies?
Absolutely! I would recommend switching up the type of Hershey’s kiss you use. Specialty flavors like Hershey’s hugs, special dark chocolate, or lava cake could be really good!

More Peanut Butter Love!
Classic Peanut Butter Hershey Kiss Cookies
Ingredients
- 1 cup (246g) creamy peanut butter
- 1/2 cup (139g) + 2 tbsp salted butter, softened
- 1/2 cup (115g) granulated sugar
- 1/2 cup (123g) brown sugar
- 1 egg
- 1/4 cup (59ml) milk
- 1 tsp vanilla extract
- 1 1/2 cups (228g) all-purpose flour
- 1 tsp baking powder
- 1/2 tsp salt
- 36 Hershey's Kisses, unwrapped

Instructions
- Preheat your oven to 375°F (190°C) and line a cookie sheet with parchment paper or a silicone baking mat.
- Using a mixer, blend together the peanut butter, butter, white sugar, and brown sugar until well combined.You will want to mix it for a couple of minutes so it gets nice and fluffy and light in color.
- Next, add the egg, milk, and vanilla, and beat until the mixture is smooth and fully incorporated.
- In a separate bowl, combine the flour, baking powder, and salt.
- Gradually add the dry flour mixture to the peanut butter mixture, mixing until a dough forms.
- Roll the dough into tablespoon-sized balls and then roll into sugar. Place your cookie dough balls on your prepped cookie sheets. Ensure there's about 2 inches of space between each cookie.
- Bake the cookies at 375°F (190°C) for 7-9 minutes. Be cautious not to overcook; these cookies are best when they are soft and just cooked through.
- As soon as you take the cookies out of the oven, gently press a Hershey's Kiss into the center of each one.
- Allow the cookies to cool, giving the chocolate time to set, before serving.
- Enjoy!
